-albertaboy-
Member
wow this looks like a cool build up!! kudos to you sir! cant wait till its done


Progressing very nicely Modman. Any mods done to the motor? Higgins.
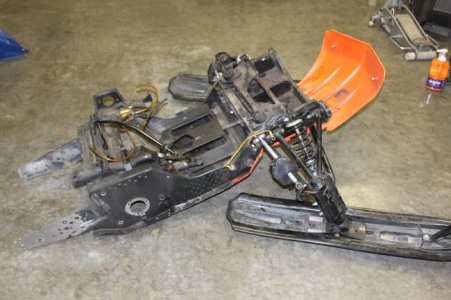
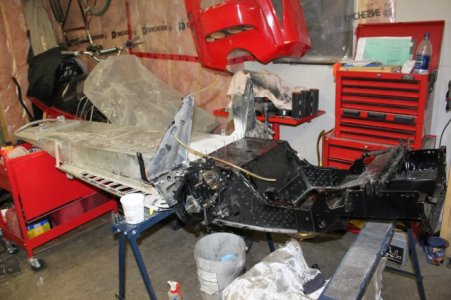
 I would like to overbore it 4 mm, right now I just want to get it back together so it runs, then I will play with the motor this winter maybe. With the setback on the skid last year, and with the drop and roll this year, it if hooks up as good as it did last year, a lot more power is not really needed. Once it lifts the skis, the chassis just twists itself left, hopefully the bulkhead bracing will cure that a little bit.
 :d
:dI like your way of thinking Modman! There's nothing wrong with re-inventing something you love. Especially if you can do it as a budget buildup. Thats quite the drop & roll, and with a suspension setback like you're doing it will make for a real aggressive attack angle. I did something similar a couple seasons back using a Polaris triple but it never really ran to my expectations so not being a smart guy i went out and bought a bigger Rotax triple. Maybe this will make me feel better, i don't know!! Ha, Ha, Ha, i just love doing it. Higgins.
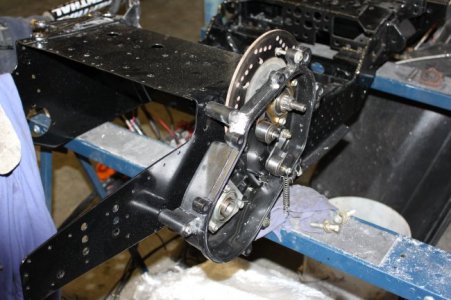
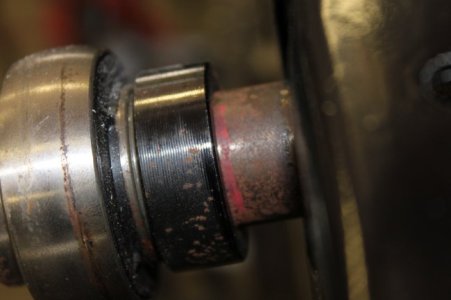
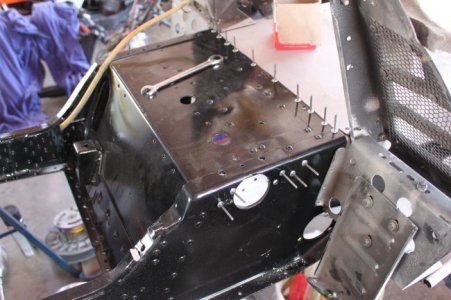
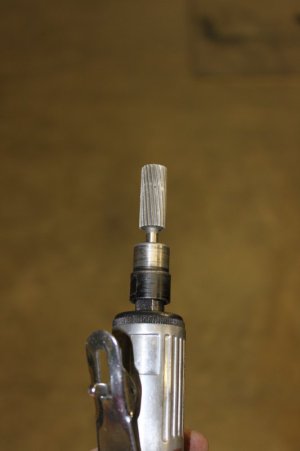
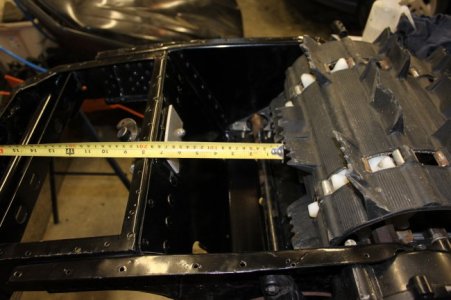
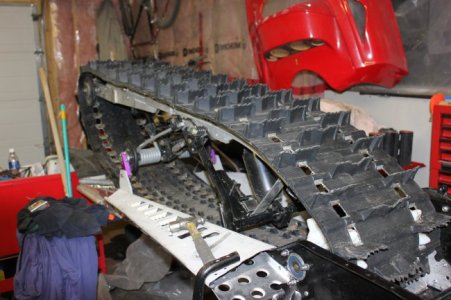
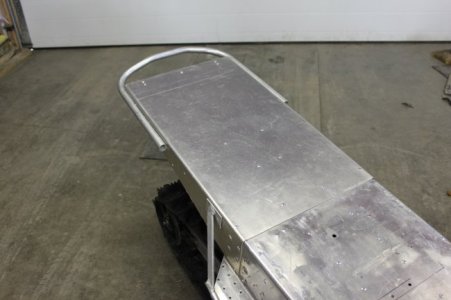
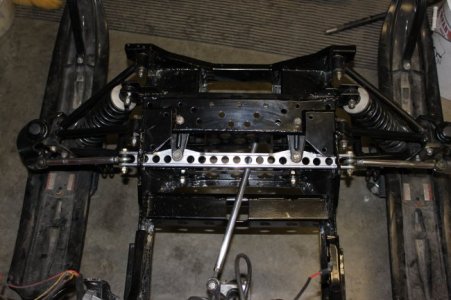
- see pic #3) and I tensioned the track tonight, everything turns around in circles very nicely. Going to get some bigger rear wheels for it to help suck up some of the added track slack (displaced from the drop and roll). I have some riveting left to do as well on the coolers, I never install all the rivets until the parts that affect that area have been installed as well, just in case I have to drill them back out if something doesn't fit or needs to be moved. Yes I learned that lesson the hard way years ago.what about epoxy filling the steering post?
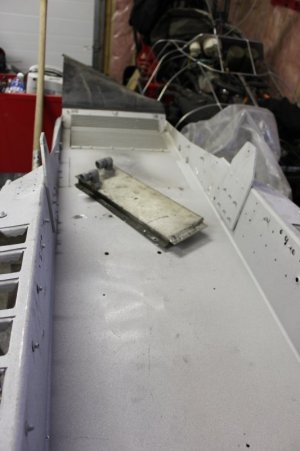
Great Project,have you considered using the chain tighter from the sno pro race sleds it is oval shaped slider that works very well and is manual ajusted.I think they were used 03 and newer.