quadboy55
Active VIP Member
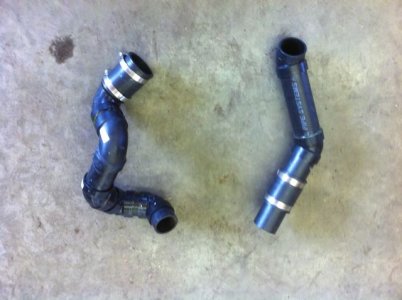
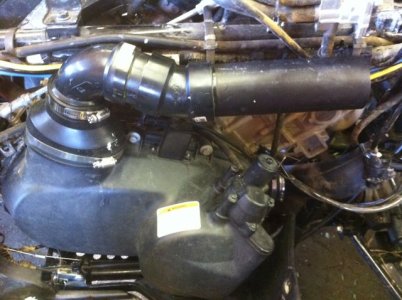
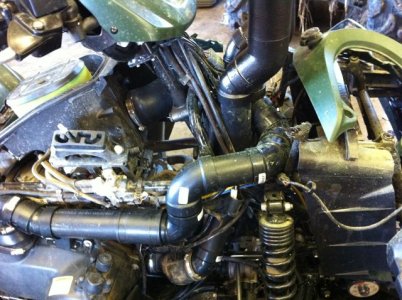
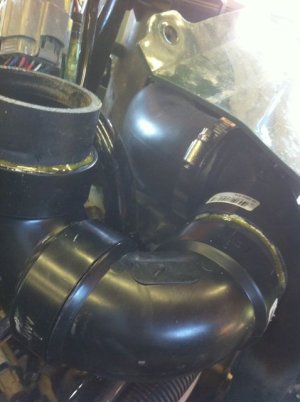
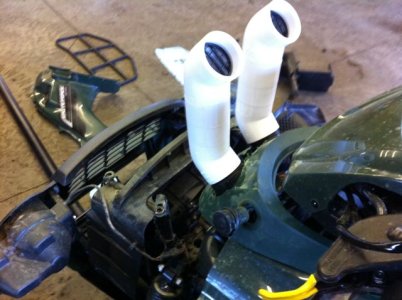
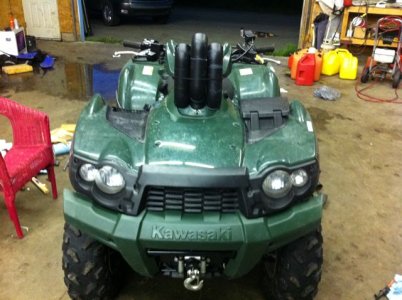
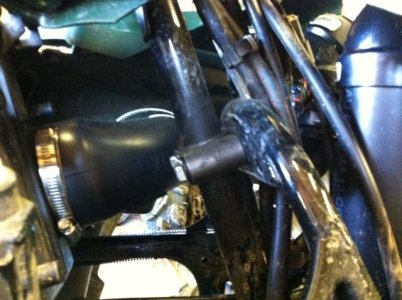
This might play a big part in the bets about my Brute. But heres the pics of how I snorkeled my '09 Kaw 750.
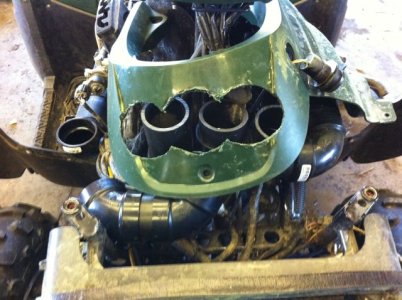
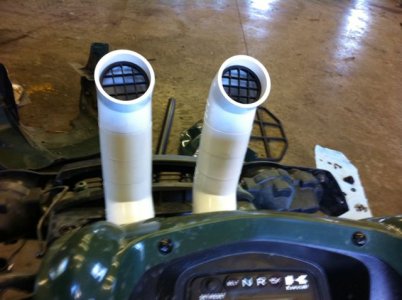
It all started out at Lowes with this much PVC... Then you can see a nifty idea that came about with a termination screen, then a few more parts and it going together. You can figure out how I did it.
It all started out at Lowes with this much PVC... Then you can see a nifty idea that came about with a termination screen, then a few more parts and it going together. You can figure out how I did it.