K1Dbilly
Active member
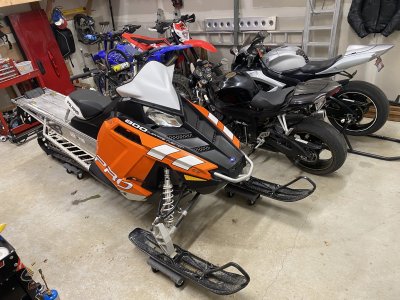
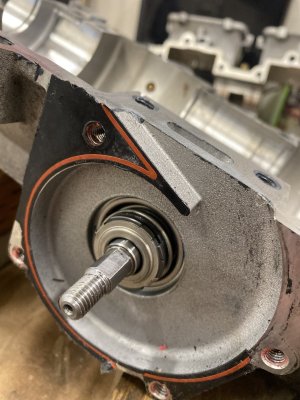
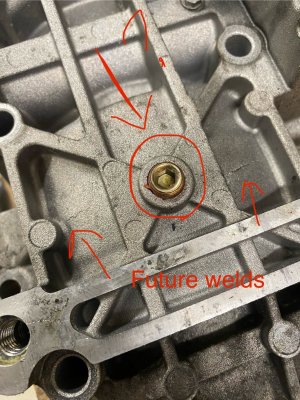
I’m new to the snowmobile world but recently got a 13’ rmk 800 for cheap with a seized rod on one side of the crank. It has 1100 miles. I got a new crankshaft, fix kit and top end from Rev6 with all the gaskets. I plan on replacing the check valves and thermostat as well. I have some experience with 2stroke motors from dirt bikes and a jet ski. Just wanted to get some feed back on tips and things to look for while rebuilding it. I have read to turn the oil screw 2 1/2 turns to increase the ratio and that some people run 100:1 in the tank for extra lubrication after a bottom end rebuilt.
Any and all feed back is welcome as I have a lot to learn
Thank you
Any and all feed back is welcome as I have a lot to learn
Thank you