
Bails
Active VIP Member
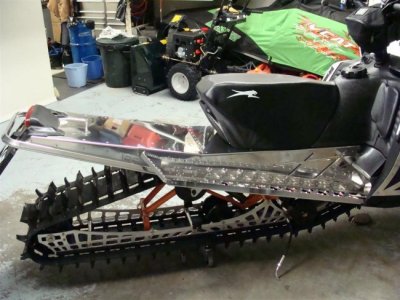
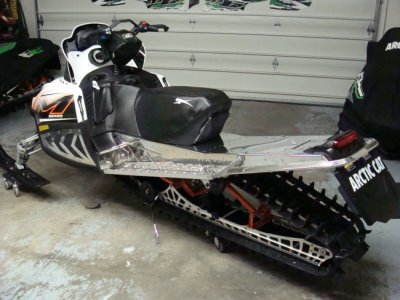
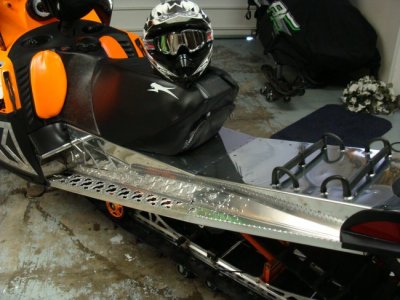
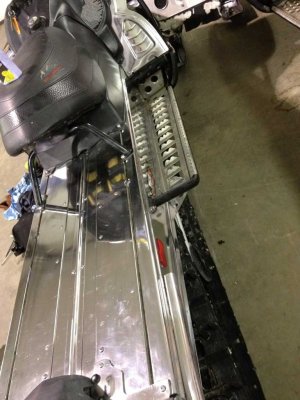
What is the best way, and polish to use on your tunnel to get that nice mirror like finish. I imagine something with a power buffer, but what types/brands of polish? Any tricks to get into the hard to reach areas around footwells and running boards etc?

")
