- Admin
- #21
- Joined
- Oct 20, 2006
- Messages
- 39,540
- Reaction score
- 14,738
- Location
- Edmonton Alberta, Canada
- Website
- www.sledbunnyracing.com
And once agian, you would be the man you know....lol....
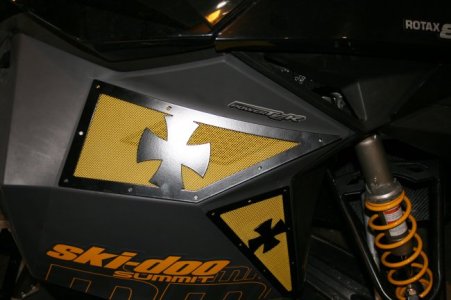
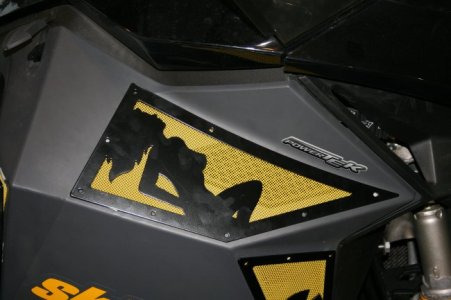
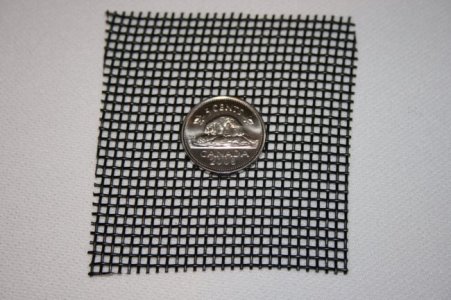
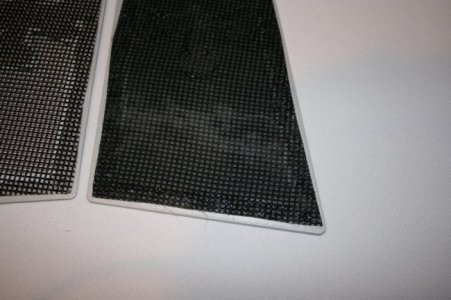
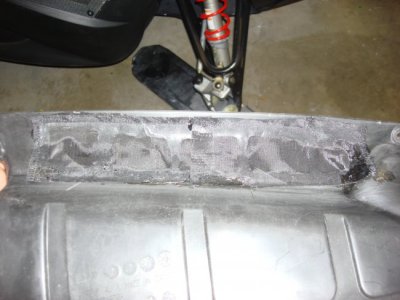
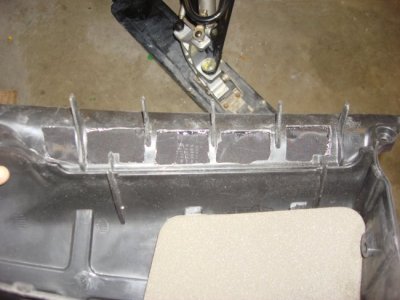
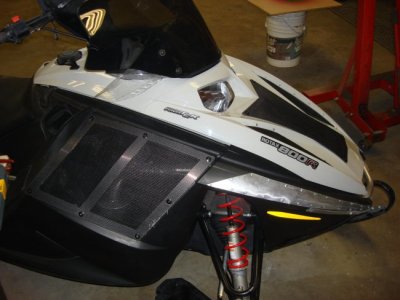
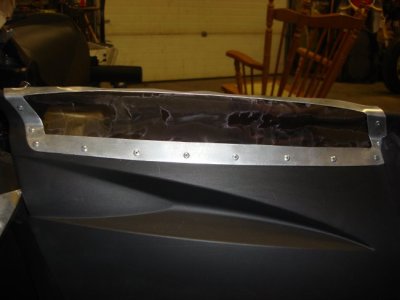
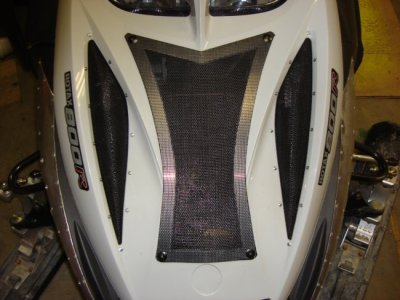
I used the extra heavy duty fiber glass pet screen from canadian tire. Its held up to some major abuse thus far for me.


 of IMG_3287.jpg")