XM Torque specs ?

BeachSled

Active VIP Member
Joined
Apr 2, 2009
Messages
956
Reaction score
1,238
Location
Sherwood Park
So now that I have my new sled sitting in the garage and a pile of accessories sitting next to it I am going to tackle the Grip N Rip braces first. So when I put it all back together does anyone know what the torque specs should be for things like;


  • Shock mount bolts
  • Rear upper a-arms
  • Lower front & rear a-arms
  • Primary clutch (in case I need the space)

Thanks for any help you can provide, I’m nervous about taking a new sled apart… :chicken:
 
Last edited:

duggyb

Active member
Joined
Nov 6, 2011
Messages
85
Reaction score
124
Location
Canada
My brother and i just did the braces yesterday. you do not need to remove the primary.

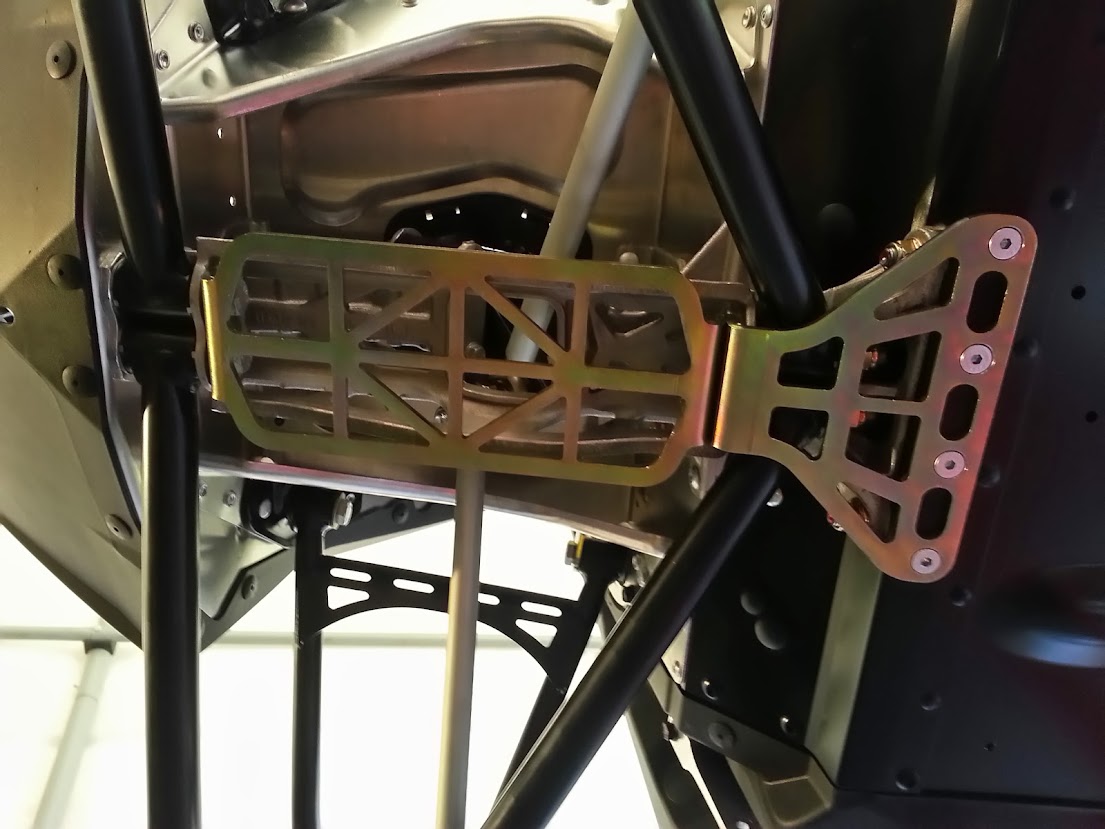
one note is check the casting of the motor cradle(PTO side, mag side had no casting mark) where the upper braces goes mine had a little edge on it that we filed down with a hande file so the braces sat nice and flush.

as for torque specs we never used any. most shock and suspension bolts were pretty well as tight as you can get with a 3/8s ratchet and some smaller stuff obviousley not as tight.

you sled will look like this once its gutted and ready for braces.

20131019_120036_LLS.jpg

20131019_124338_LLS.jpg

20131019_124354_LLS.jpg

20131019_140024_LLS.jpg


We are awaiting the arrival of our RPM skid plates and then I will have some shots of that as well.
 
Last edited:

BeachSled

Active VIP Member
Joined
Apr 2, 2009
Messages
956
Reaction score
1,238
Location
Sherwood Park
Thanks for the input and the pics, how much did you remove? Side panels, hood, can, pipe, ? I'm going to start tomorrow afternoon and see how it goes, I also have the RPM skid plate sitting here. The skid plate looks sweet and should add a lot of extra protection.

Any tips on the GnR install ??

Thanks
 

duggyb

Active member
Joined
Nov 6, 2011
Messages
85
Reaction score
124
Location
Canada
Pop out gauge cluster and unhook harnesses. Remove 4 torx. Slide hood off and don't forget breather hose on top right of hood. Remove pipe and can. Remove shocks. Remove sway bar endlinks . Unhook tie rods and all lower a arm bolts. And then follow grip n rip directions. Pretty straight forward.

Some say you don't need to remove that much which is maybe true but I like lots of room to work.

..
 

BeachSled

Active VIP Member
Joined
Apr 2, 2009
Messages
956
Reaction score
1,238
Location
Sherwood Park
Do you have a picture of the PTO side ? Do I really have a one of casting to file down ?
 

duggyb

Active member
Joined
Nov 6, 2011
Messages
85
Reaction score
124
Location
Canada
Do you have a picture of the PTO side ? Do I really have a one of casting to file down ?


i do not have a picture. its not a one off casting. its just a burly edge from the casting process that should be sanded down so the brace fits tight. it literally takes 2 minutes to sand with a hand file.
 

BeachSled

Active VIP Member
Joined
Apr 2, 2009
Messages
956
Reaction score
1,238
Location
Sherwood Park
i do not have a picture. its not a one off casting. its just a burly edge from the casting process that should be sanded down so the brace fits tight. it literally takes 2 minutes to sand with a hand file.

Thanks. I figured it out this afternoon, I was looking at something different. I found the hole closest to the middle on the PTO side the most difficult to drill even with a right angle drill. It ended up a little ovaled. Thanks for the tips, much appreciated.

I will post some pics tomorrow once I finish up the E & S braces.

And then more pics once I finish the RPM skid plate.
 
Top Bottom