2010 Assault 800 Turbo Build

Justin_sane

Active VIP Member
Joined
Dec 30, 2009
Messages
169
Reaction score
70
Location
Edmonton
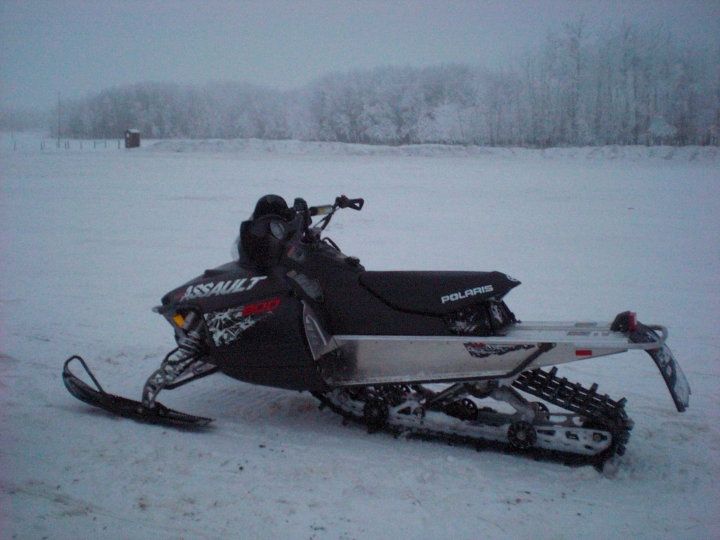
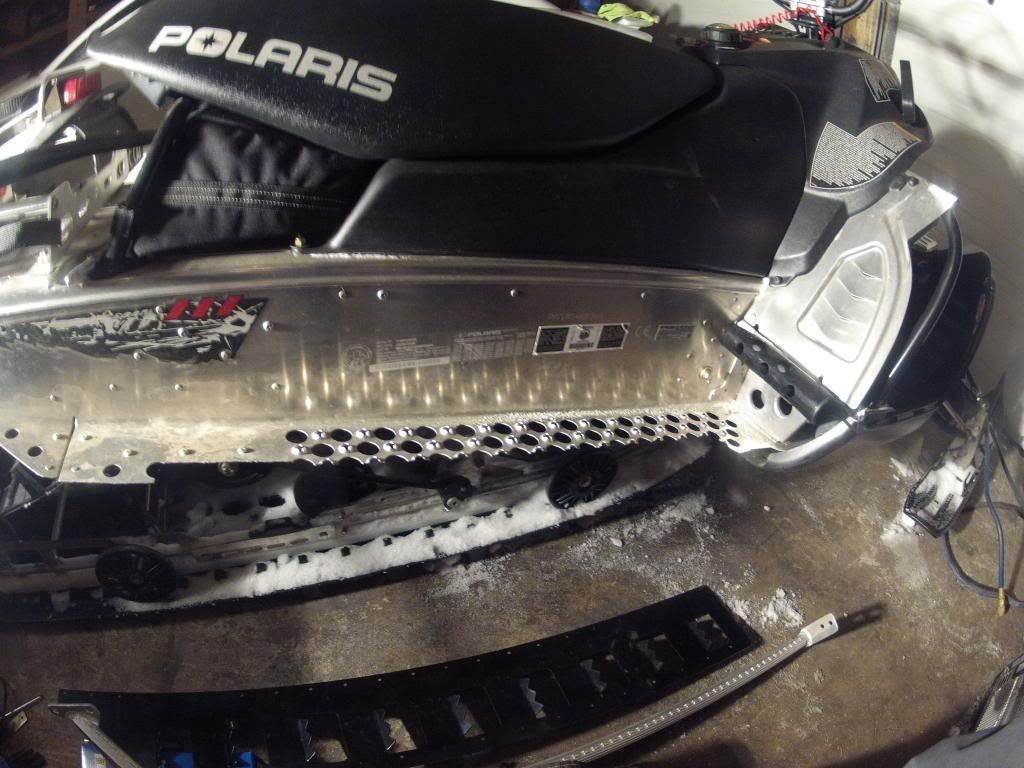
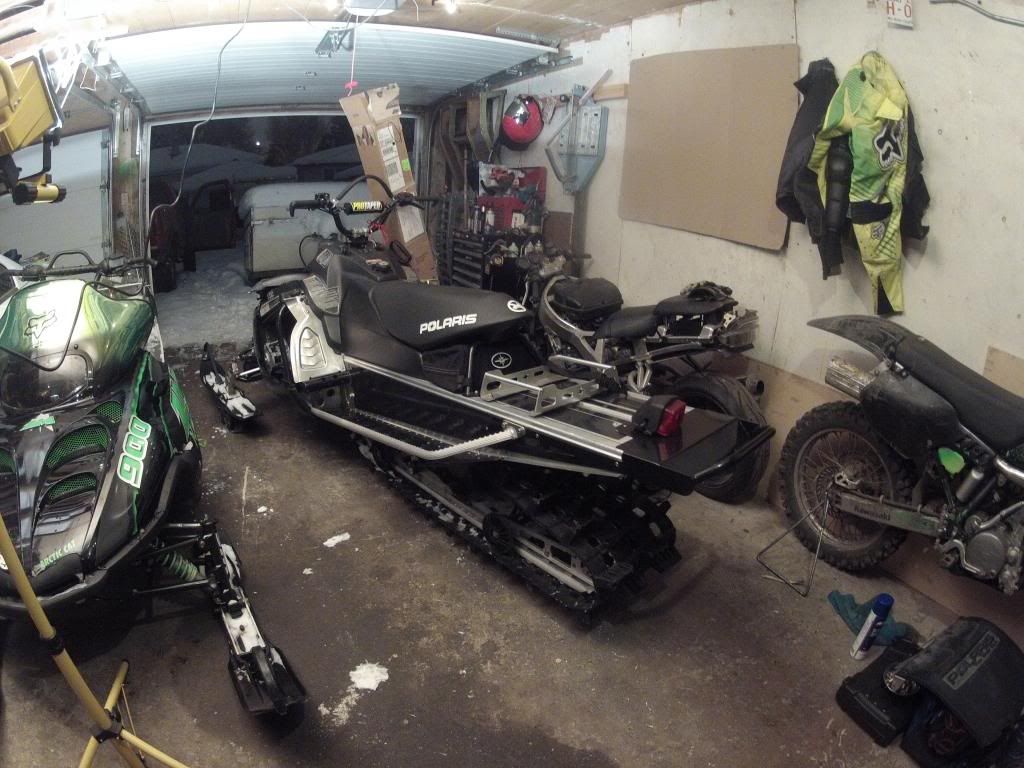
Ive almost finished gathering up parts to start my build on my sled. As of right now, it sits in perfectly running stock condition, ready to ride. its got a tank of stabilized fuel, and once ive been able to burn it off, the build will begin. Ill add some pics later on as I go.
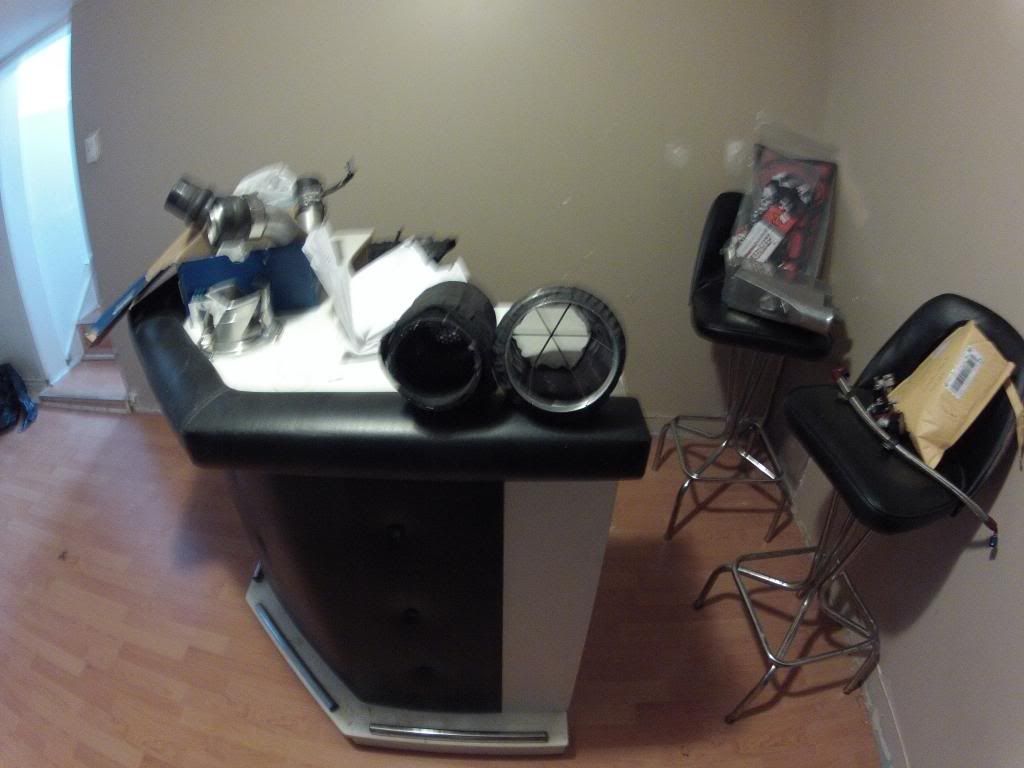
So far I have:

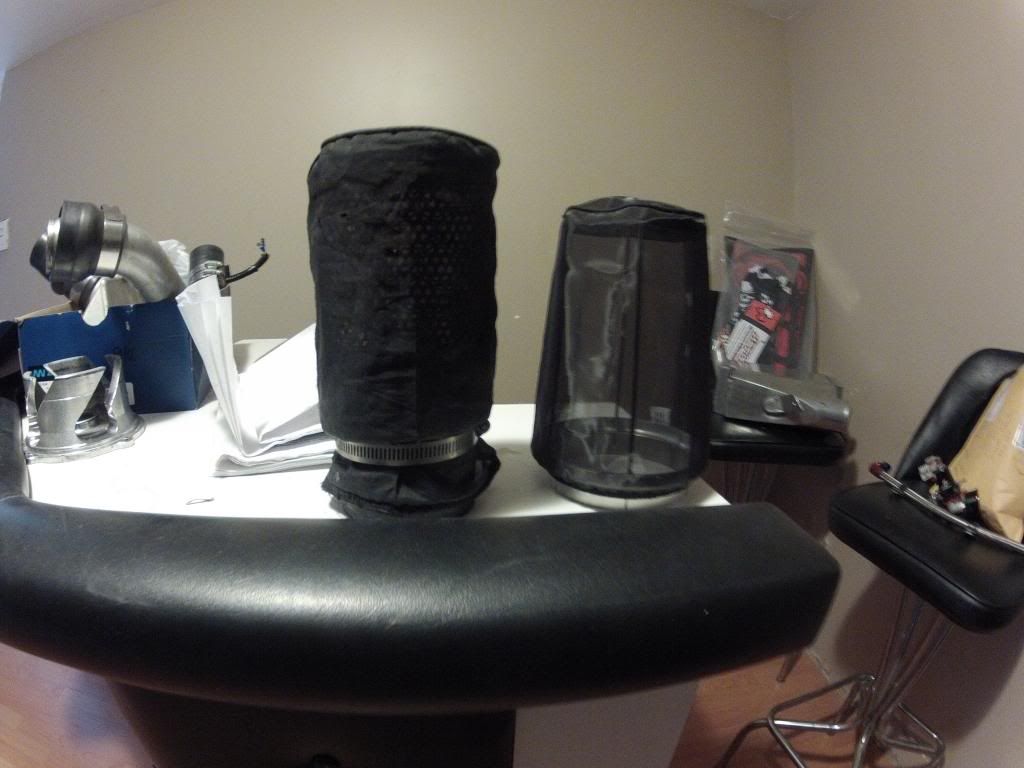
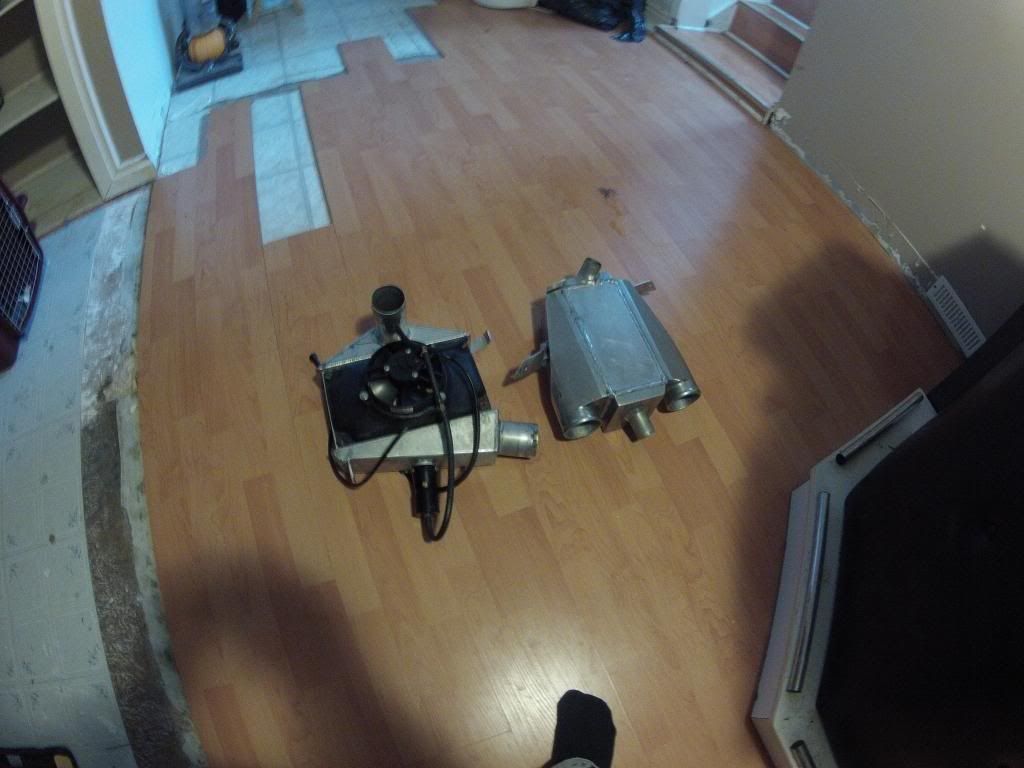
Boondocker intercooled race gas turbo kit with a 700 turbo pipe
Air to water intercooler from one of my car projects that i will adapt to this build
Boondocker EBC and EKey
Koso Dual EGT with fast acting probes
Aeromotive adjustable fuel pressure regulator
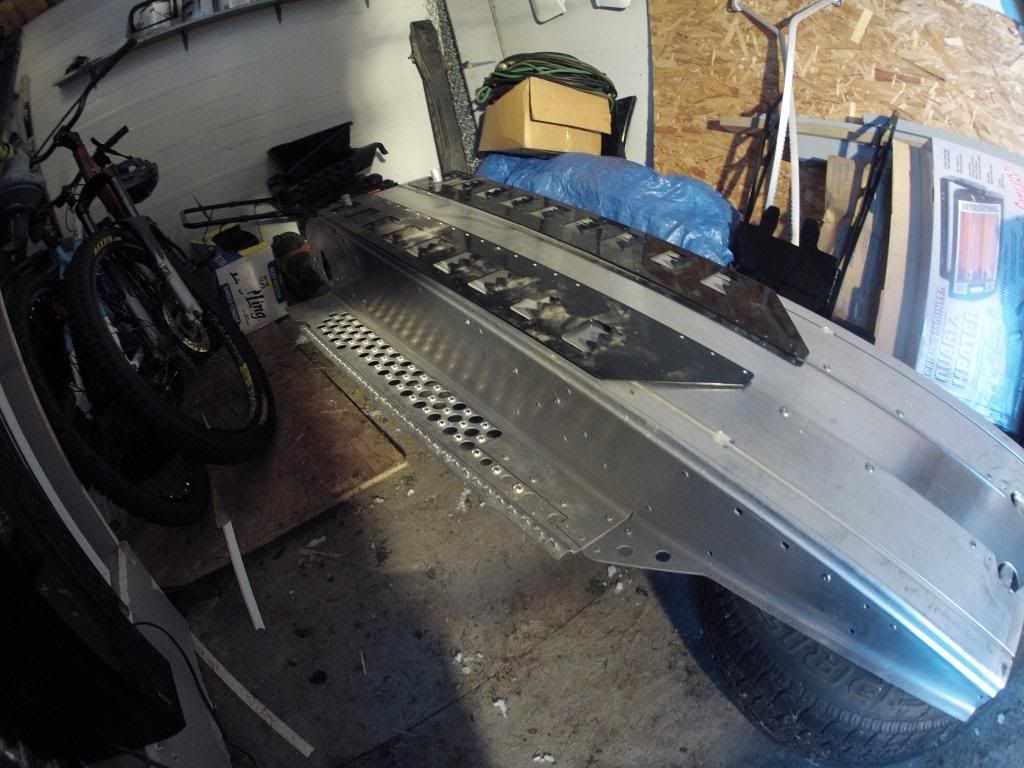
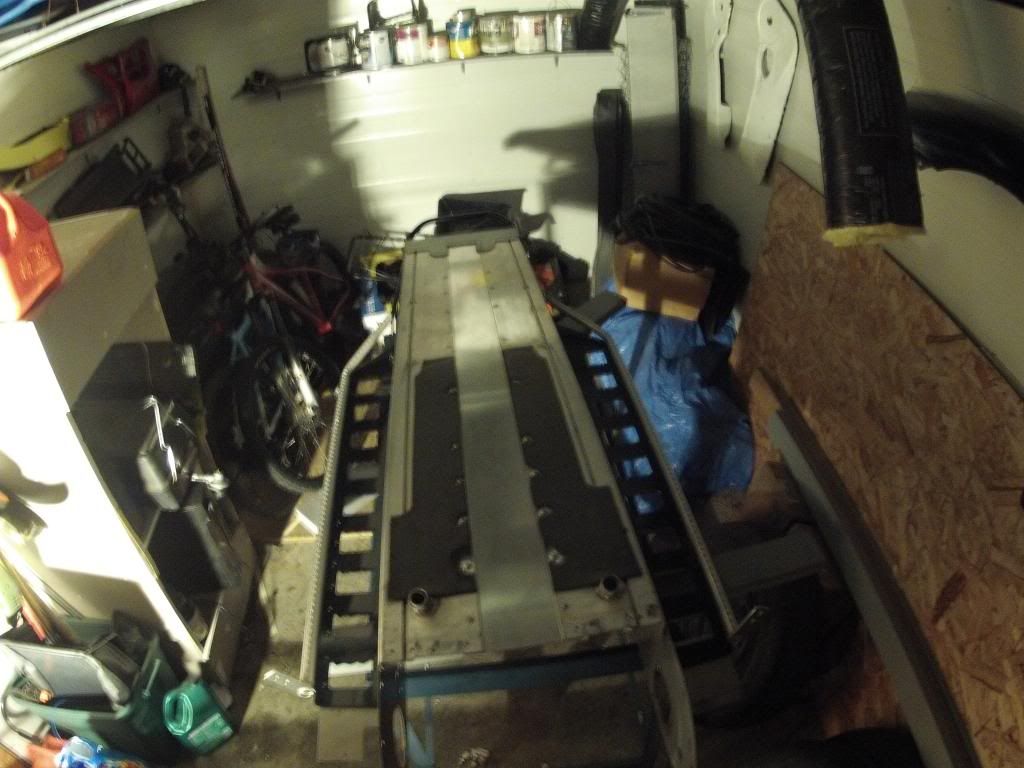
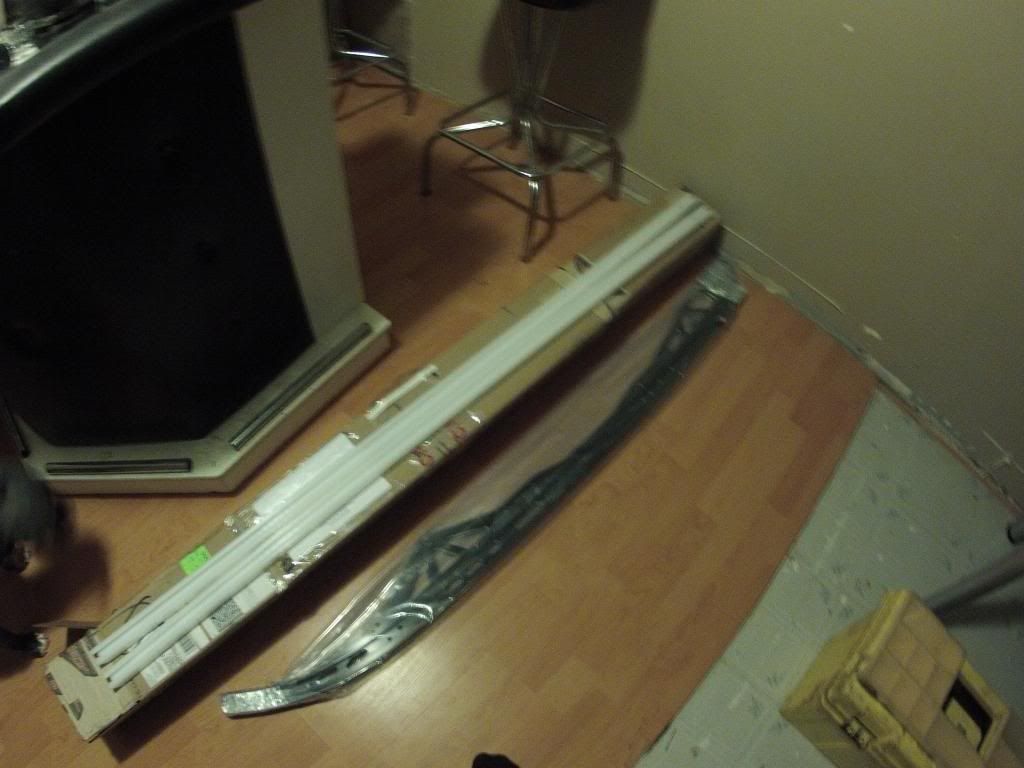
Spare stock tunnel (will be modified for second tunnel cooler, tunnel dump exhaust, and then powdercoated black)
Van amburg wide running boards
Van amburg rear bumper extension (should give me up to about 155" tunnel)
Pro Assault 155x2.125 track (same track as stock, just longer. Should help dealing with the extra power a bit, but still retaining the properties im used to)


On the order list:

Koso X2 (maybe, I may use my AEM Wideband for this purpose instead)
Bosch Intercooler pump
Iceage 155 IQ Rails
Iceage 4 wheel axle and wheels
Fire N Ice headlight delete
Billet throttle block and remote kill switch (because the stock kill switch location almost wrecked me on very steep climbs on a few occasions)
new clutch springs and washer
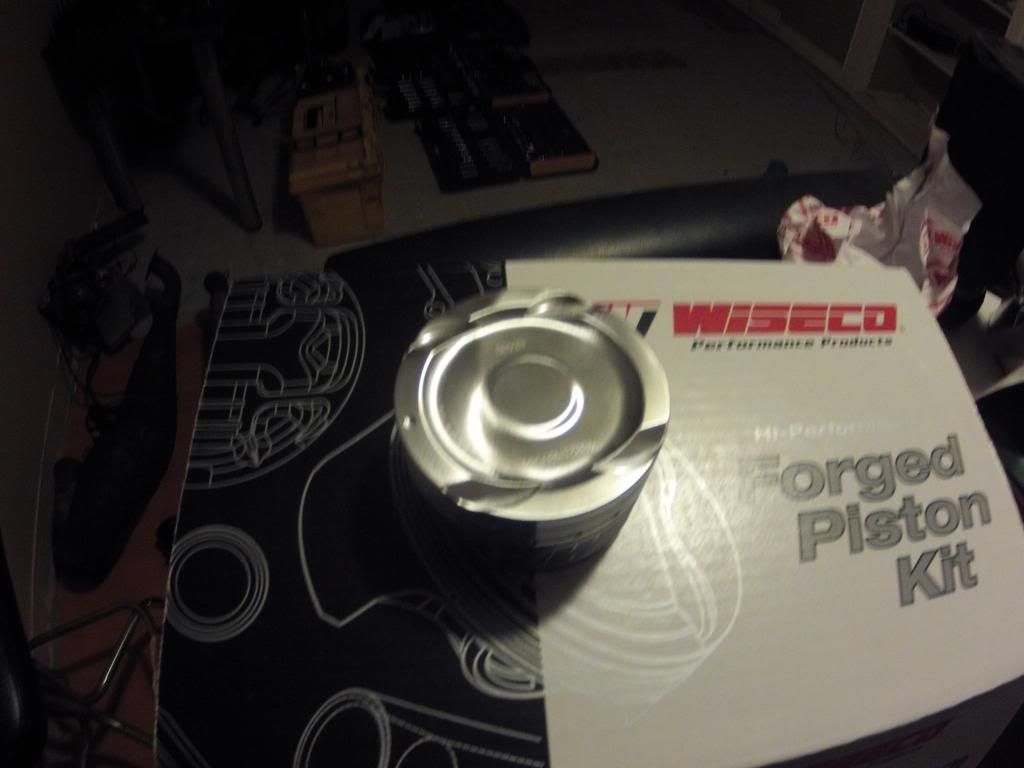
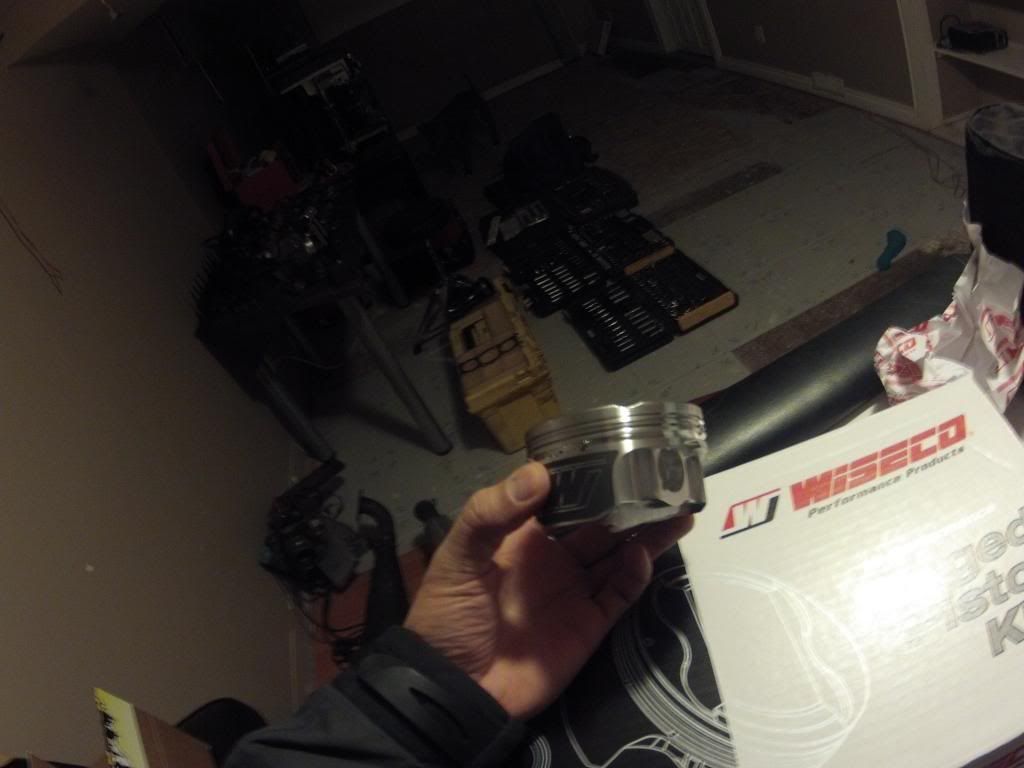
turbo pistons and or heads

have to make a few parts as well like a new turbo flange or just cut off the 700 flange and weld it to my 800 pipe, then ceramic coat it.


Now, I have a question... If I was to purchase wiseco 8.5:1 turbo pistons, would it be a good idea to run Power Addiction Racing turbo heads? or would it lower my compression TOO much? Maybe if i ran 12.0 turbo heads with the wiseco pistons I would be better off? Im not sure how much lower it would make the compression but I would definetly be able to run more boost.

I will be running straight 100LL avgas as well.
 
Last edited:

Justin_sane

Active VIP Member
Joined
Dec 30, 2009
Messages
169
Reaction score
70
Location
Edmonton
figured I would add an update

Heres a pic of the sled before any work

sled2.jpg


Heres some of my parts that ive accumulated for my build, and the work ive done so far.

I picked up a spare assault tunnel, with Van Amburg Tunnel Extension/Bumper, and some Van Amburg Wide Boards. Ive done the cutting using a sawzall and a 4 1/2" angle grinder with a sanding disc to deburr and smooth the edges. Test fitting looks ok, once ive gotten everything drilled for mounting, I will be sending the tunnel to be powdercoated black. Im thinking of red anodizing the rails for the running boards.
GOPR0272.jpg

GOPR0289.jpg


Some modifications to the turbo kit

4" intake filter which is less restrictive
GOPR0266.jpg

GOPR0267.jpg


Boondocker intercooler vs Air to water intercooler
GOPR0268.jpg


Ive also ordered most of the parts I need now, Iceage 155 tipped up rails (will be black anodized), billet throttle block and remote kill switch, new clutch springs, fire n ice head light delete and wiseco turbo pistons are on the way. I emailed power addiction racing to ask about the heads, but I havent recieved a reply from them yet. Ill probably call them next week.

On that note, I must say, im happy with Iceage's customer service, they called me within a few minutes of my order and worked out the details of what I was looking for, and gave me the heads up that it would take a week or two to produce and ship them. I highly recommend them.

Still need to order the heads, koso X2, tunnel cooler and IC pump, 4 wheel axle kit with wheels, then ill be all set. I cant wait to see how she looks when its all assembled.
 
Last edited:

Braddock54

Active VIP Member
Joined
Dec 30, 2011
Messages
1,362
Reaction score
1,518
Location
The North
Looking good man. I enjoy watching these beauties come together...my mechanical prowess pretty well ends at oil changes and tire rotations!

Those Van Amburg boards looks great. Keep the updates coming :beer:
 

Justin_sane

Active VIP Member
Joined
Dec 30, 2009
Messages
169
Reaction score
70
Location
Edmonton
More goodies have shown up over the last few days. Cr racing throttle block and remote kill switch, and my wiseco pistons. Turns out the pistons were labelled wrong on their catalog/website. The ones listed as 800cc turbo iq dragon are actually 750cc four stroke turbo pistons. On the plus i was very happy with wisecos customer service, i will be returnig these ones for the proper set.

I have also gotten a ship notification for my rails so i should ve seeing those early next week. This weekend i will be welding the pipe for the turbo flange and cutting the tunnel dump exhaust hole so that i can drop the tunnel and a few other parts for powdercoating.
 

Justin_sane

Active VIP Member
Joined
Dec 30, 2009
Messages
169
Reaction score
70
Location
Edmonton
So the parts pile grows, and ive changed a few plans due to time and money restraints since christmas is coming up. Im also waiting on a replacement voltage regulator to get my sled running properly again before I start working on it. It was also -29 degrees on the day it happened so i wasnt to keen on wrenching in the cold. That was a bit of a setback on schedule as well.

-Ive decided not to powdercoat any of the parts until later. I will likely vinyl wrap the tunnel instead for now.
-Didnt get the pipe welded, but i did cut the pipes and fit/prep them for welding.
-Ive also decided to run the air to air intercooler for now, while i plan out the installation of the air to water ic.
-for parts, I only need a two stroke adaptor for the wideband sensor, track (as the pro assault track deal fell through), and turbo heads.

I am going to make a little block off plate for the factory exhaust port in the bottom of the engine bay, as well as a custom hose splice adaptor for my koso x2. Initially I want to use it on the engine coolant, but once Im ready to install the air to water setup, I plan to run the intercooler on a separate coolant supply from the engine and keep track of its temps with the x2. One benefit of this is that I will be able to see if the ic pump fails for whatever reason by a sharp increase in water temp.

Heres a quick shot of the Ice Age rails. I cant wait to put them on. Im not set on what track I am going to get at this point. It will likely be a 2.125 pro assault track, or a 2.5 track. It depends on what I find first I guess.
GOPR0316.jpg


Heres the pistons that were listed as turbo iq dragon:

GOPR0296.jpg

GOPR0294.jpg


clearly not for an iq dragon. They were sent back. I am waiting for replacement two stroke dragon pistons. I just got regular wisecos and not the fix kit version.

I wish I had more build pics than pics of parts, but I havent really gotten the chance to work on my sled, and I dont want to tear it apart until I had everything together.
 
Last edited:

Justin_sane

Active VIP Member
Joined
Dec 30, 2009
Messages
169
Reaction score
70
Location
Edmonton
Did some work on the sled over the last weekend, took some pics to post up on the build. Since I have a blown motor, Im bringing the sled to Chris at Parkland to install the fix kit for me. I will be emailing Wiseco to cancel my replacement pistons. My advice is that if you have to return a shipment, make damn sure they give you a tracking number. I never got one, and a month and a half later, wiseco still hasnt gotten my return. If they lost the package, im out $370 and someones head at canada post will roll. lol

Tools that I used:
air compressor (smallish one)
air rivet gun (makes life a ton easier, thanks to ben (dragonweld28 for the suggestion)
air body saw (after cutting up my spare tunnel i decided this was the easiest to use)
manual rivet gun (for the hard to reach places)
3/16" stainless rivets in two different lengths
3/16" drill
heat gun
flat head screwdriver
crescent wrench
ratchet set
4 1/2" angle grinder with sanding disc


tunnelextension-before_zpsff956a3d.jpg


Started into the wide boards and tunnel extension first as in my opinion they will be the most time consuming. I will be putting the iceage rails and track on once I receive my sled back from Chris. For now it just needs to get out the door.

Past the point of no return

wideboards-cutting_zpsacb2c928.jpg


the rails didnt fit without trimming the plastic a bit

wideboards-fitment1_zps18b5aaf3.jpg


wideboards-fitment2_zps670e06c2.jpg


wideboards-fitment3_zps5f059e59.jpg
 
Last edited:

Justin_sane

Active VIP Member
Joined
Dec 30, 2009
Messages
169
Reaction score
70
Location
Edmonton
removed all of the decals from the tunnel and installed an all black tunnel wrap from HTR designs that I bought from another member on the forum. It turned out ok, but i got some bubbles. I had it pretty good, but i put too much heat on it and bubbled it up a bit. but the tunnel had some dings and stuff to begin with as well. Good from far, far from good. lol

I found that using the heat gun on the inside and a scraper on the outside made it easiest to remove the decals.

tunnelextension-decalremoval_zps4d8e4265.jpg


a little bit scary to see your machine like this...

tunnelextension-mockfitting3_zpsc570c5fa.jpg


drilling and riveting

wideboards-drillingpanelholes_zps7c2a4cff.jpg


finished extension and wide boards. Its a bit intimidating to start hacking up your machine, but its actually very easy but a bit time consuming. Hopefully this helps convince people to try it themselves, building the sled is half the fun.

tunnelextension-wideboardsfinished_zps474720ae.jpg
 
Top Bottom