Ski-Dick
Member
Switch relocate tutorial for Everest model
Parts/Tools Required:
- (2) SPDT (Single Pole Double Throw) On-Off-On rocker switch for heated grips and heated throttle (Race Shop Industries RSI GH-S)
- (1) SPDT On-On rocker switch for headlight high/low (military grade sealed freeze/dust proof with rubber boot)
- (1) SPDT On-Off-On Momentary rocker switch for RER (Rotax Electronic Reverse) which can be activated by toggling the switch either direction (military grade sealed freeze/dust proof with rubber boot)
- X-Package Only: (1) SPDT On-Off-On Momentary rocker switch for Mode up/down (military grade sealed freeze/dust proof with rubber boot)
- 6 crimp on wire connectors (red) which fit the headlight and RER switch
- Hockey Tape
- Soldering iron or gun
- Solder
- Heat shrink
- Heat gun
- Wire strippers
- 2’ of 20ga wire
Before Photo:
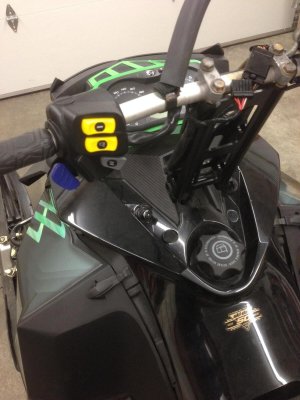
Heated grip switch on left and heated throttle switch on right:
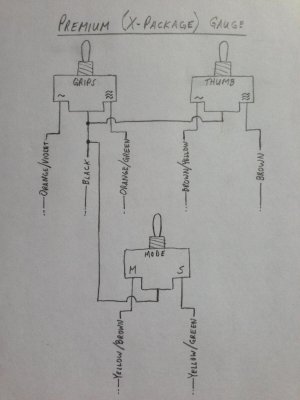
Before you begin you need to map out all of the wire colors and where they need to be located to connect to the new switches. Here is a wiring diagram of the Everest model:
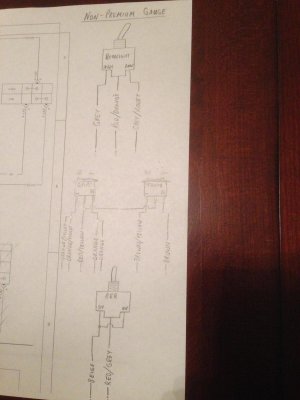
I cut the mesh cable cover that runs up the riser at the base where it could not be seen and pulled the appropriate wires back for the headlight and RER. These wires were long enough and did not require lengthening.
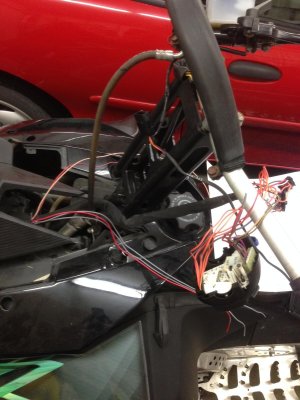
I then crimped wire connectors to the ends and soldered them to ensure they would not come loose. I wrapped all the wires in hockey tape for a nice clean look. I prefer hockey tape over electrical tape because it holds up better in the cold. The lower set of wires I installed a little jumper wire. This was to ensure the rocker switch would work in both directions.
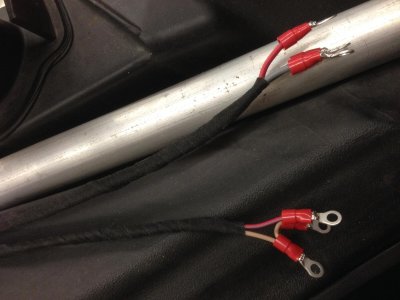
I attached the two common wires for the heated grips together and then extended them to reach the console where I mounted the switches. The wire color of the extension does not matter as long as you keep track. I then fed both extended wires down the mesh cable cover to keep a clean install.
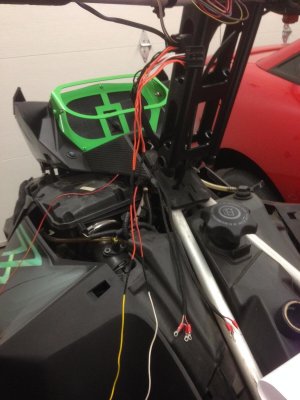
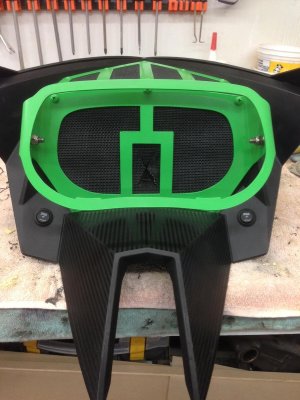
I then mounted both rocker switches for the headlight and RER in the blanks just above the gas cap (where the switches should have been). You can see the switches mounted and terminated.
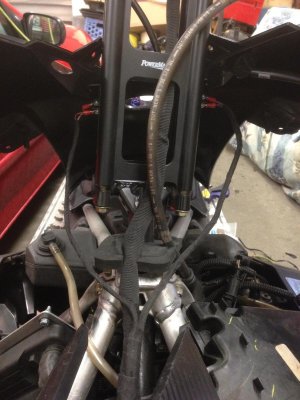
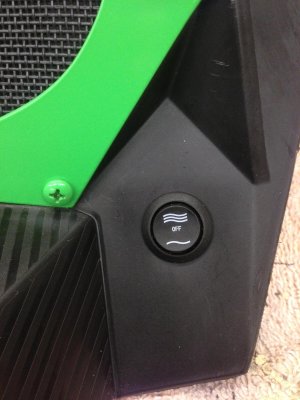
One issue I did not foresee was the clearance issue between the RER switch and the gas tank. I took a heat gun and melted the plastic (with a fire extinguisher near by – I might add that I drained the fuel tank prior to doing this). It didn’t turn out the best looking but it still seals and now clears the switch.
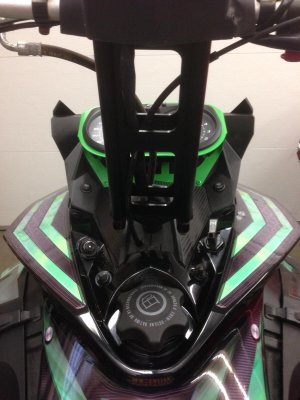
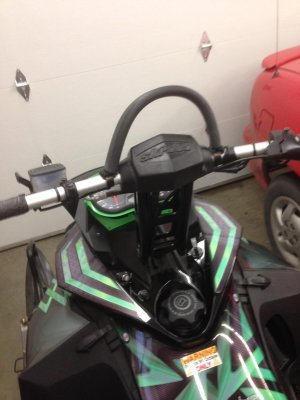
Finished product:
Parts/Tools Required:
- (2) SPDT (Single Pole Double Throw) On-Off-On rocker switch for heated grips and heated throttle (Race Shop Industries RSI GH-S)
- (1) SPDT On-On rocker switch for headlight high/low (military grade sealed freeze/dust proof with rubber boot)
- (1) SPDT On-Off-On Momentary rocker switch for RER (Rotax Electronic Reverse) which can be activated by toggling the switch either direction (military grade sealed freeze/dust proof with rubber boot)
- X-Package Only: (1) SPDT On-Off-On Momentary rocker switch for Mode up/down (military grade sealed freeze/dust proof with rubber boot)
- 6 crimp on wire connectors (red) which fit the headlight and RER switch
- Hockey Tape
- Soldering iron or gun
- Solder
- Heat shrink
- Heat gun
- Wire strippers
- 2’ of 20ga wire
Before Photo:

Heated grip switch on left and heated throttle switch on right:


Before you begin you need to map out all of the wire colors and where they need to be located to connect to the new switches. Here is a wiring diagram of the Everest model:

I cut the mesh cable cover that runs up the riser at the base where it could not be seen and pulled the appropriate wires back for the headlight and RER. These wires were long enough and did not require lengthening.

I then crimped wire connectors to the ends and soldered them to ensure they would not come loose. I wrapped all the wires in hockey tape for a nice clean look. I prefer hockey tape over electrical tape because it holds up better in the cold. The lower set of wires I installed a little jumper wire. This was to ensure the rocker switch would work in both directions.

I attached the two common wires for the heated grips together and then extended them to reach the console where I mounted the switches. The wire color of the extension does not matter as long as you keep track. I then fed both extended wires down the mesh cable cover to keep a clean install.

I then mounted both rocker switches for the headlight and RER in the blanks just above the gas cap (where the switches should have been). You can see the switches mounted and terminated.

One issue I did not foresee was the clearance issue between the RER switch and the gas tank. I took a heat gun and melted the plastic (with a fire extinguisher near by – I might add that I drained the fuel tank prior to doing this). It didn’t turn out the best looking but it still seals and now clears the switch.
Finished product:


